There is another great app from Android Google Play store which allows you to boot your PC from .ISO/.IMG files stored on your Android phone. This app is called DriveDroid, it makes you live free from carrying a number of Windows or Linux CD/DVD or USB flash drive with you, as we always carry our phones with us so we’ll have it always, this is ideal for IT professionals and don’t need to carry any additional USB, CD or DVD, it is best for trying Linux distributions or Antivirus rescue-system on the go without the need to burn different CDs or USB pen drives.
DriveDroid App is Capable of:
Burns any Windows ISO (XP, 7,8, or 10).
Burns any Linux-based ISO (ArchLinux, Ubuntu, Knoppix, etc).
Burns a number of handy ISOs (Hiren’s Boot CD, FreeDOS, BartPE, Ultimate Boot CD).
Handles UEFI as well as legacy booting.
Handles GPT as well as MBR partition tables
This post will go through the steps of creating an image in the Android phone DriveDroid app and burning an ISO to that image using a Rufus tool.
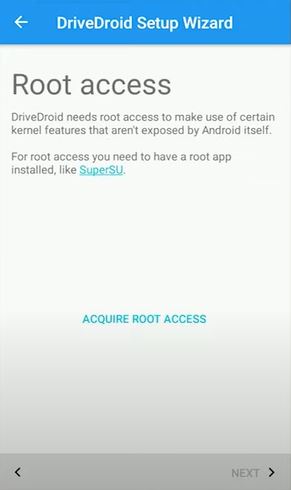
Step 2: Launch DriveDroid. Then grant root access.
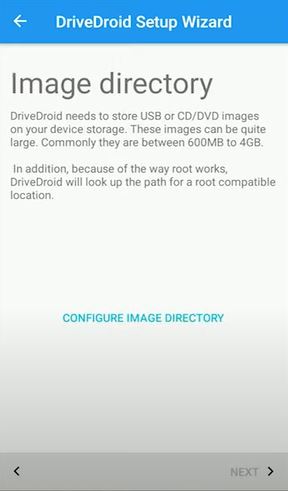
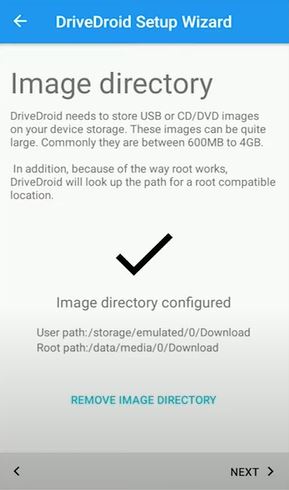
Step 3: Configure the Image Directory to store USB and CD/DVD images.
For example, you might choose the Download directory:
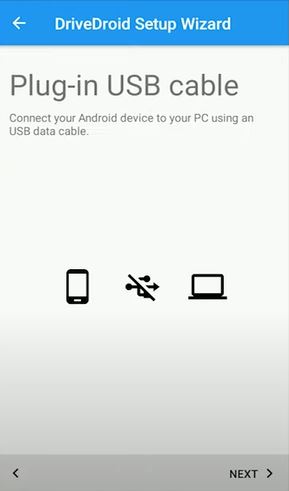
Step 4: Connect your Android phone with the USB cable to your PC. Check if a disk with a size of 182 KB has appeared. Then disconnect the phone from the computer.
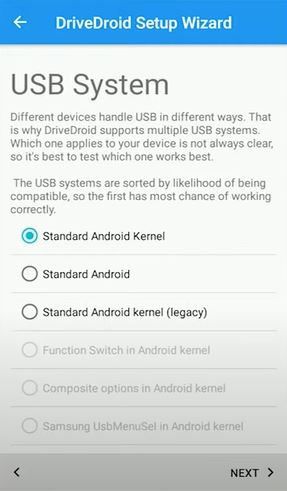
Step 5: Then DriveDroid will prompt you to choose a USB system. I usually choose the first option and check whether the computer will boot from my smartphone. If not, then I choose the next option. Standard Android Kernel and Standard Android work in most cases.
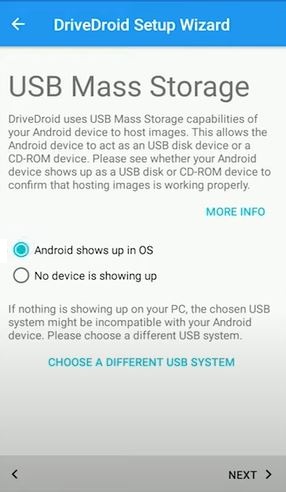
Step 6: You need to specify exactly what type of media you saw on your computer: USB, CD-ROM, or none. This is easy to check through file explorer. If your device showed up in your system, choose Android shows up in OS. Otherwise, try with a different USB system
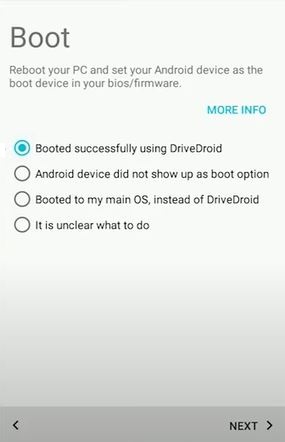
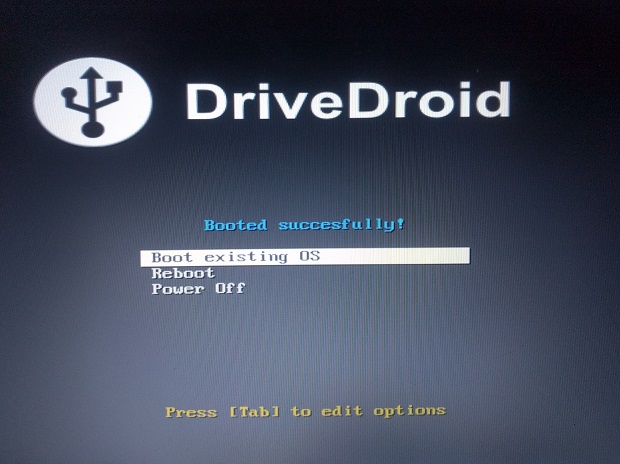
Step 7: Then select Booted successfully using DriveDroid
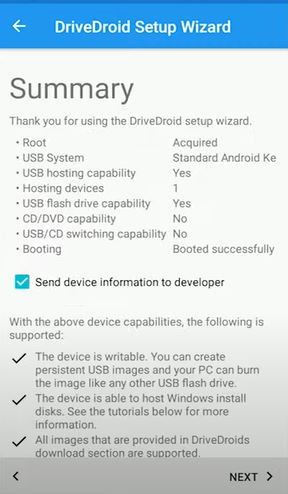
Step 8: On the summary screen click NEXT
Step 9: Now you created DriveDroid Boot Tester. Then you should restart the computer and try to boot from your smartphone by changing the boot order options in the BIOS.
You should see the test image loading screen:
If you see this screen then everything was done correctly. If you don’t see this screen, try selecting a different USB system in the program settings and re-boot. After updating the parameters, do not forget to click on the update icon.
Preparing images of the system you want to install
Now you can proceed to copy boot images to your phone. DriveDroid works with images of the IMG format and with some images of the ISO format. Moreover, it works successfully mainly with Linux images and windows installation iso images will not be able to connect and therefore we will have to convert our ISO images to IMG images.
DriveDroid also includes convenient download images (.iso or .img), where you can download images of a number of operating systems on your phone. You can also create USB images that allow you to have a blank USB drive where you can store files in. Blank images also allow you to use tools on your PC to burn images to the drive and create an Android phone as a bootable USB disk, like we have to do next in this post.
So, there are 3 ways to create an img image of DriveDroid:
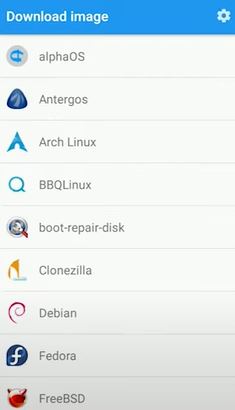
The first way: Download images directly from DriveDroid. But there are only Linux images.
Press the + button and choose to download the image
2. Choose to download the image of the system you want to install
The second way: Download an iso image and burn it using Rufus or another similar program
Step 1: First you have to connect your Android phone with the USB cable to your PC.
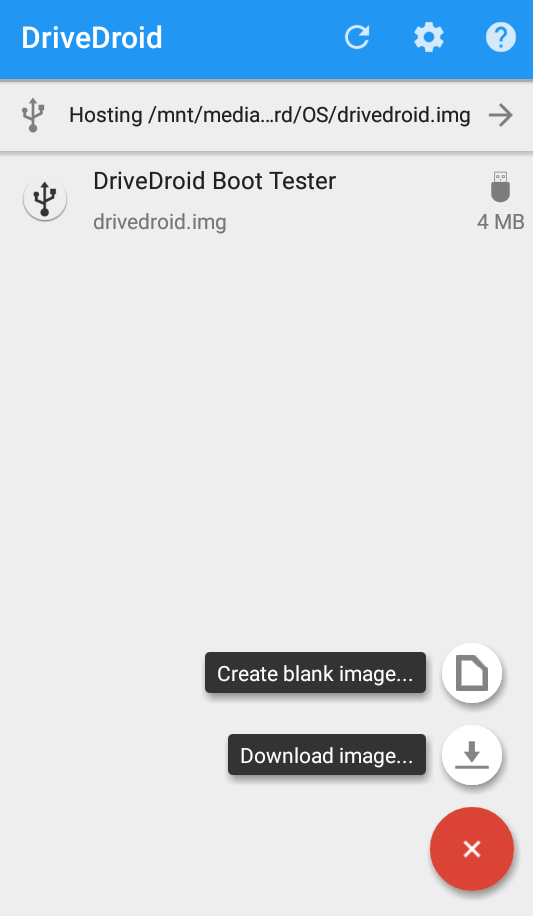
Step 2: Open your app DriveDroid on your phone, you’ll see the + button, click on it, now you will find the option ‘Create blank image‘ here, click on it.
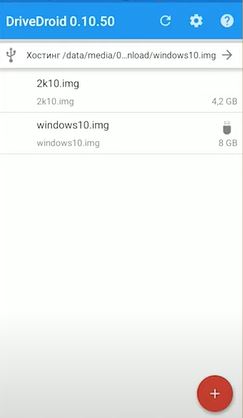
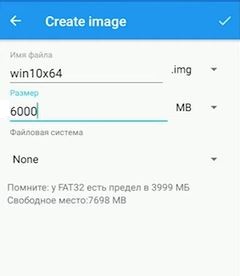
Step 3: After clicking on Create blank image you’ll see a pop-up dialog like below where you can name the file and size for the image that is appropriate for the ISO you’re burning, we are burning downloaded Windows 10 iso file from the Official Windows site for this post.
Step 4: Choose a filename like ‘win10x64.img’ and choose 6000MB as the size for the image. You have to uncheck ‘Partition table (MBR)’ and choose ‘None‘ for the filesystem because we’ll do these things with the Rufus tool in the next step. Now click on the Create button right top.
Step 5: Once image creation has finished you can select the image in the DriveDroid app.
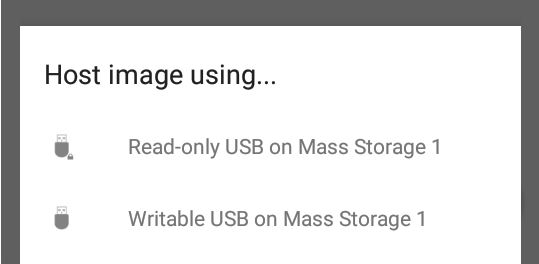
Step 6: After selecting an image, a popup dialog will ask you how to host the image. Choose the first option to host the image as a writable USB drive (see screenshot below).
Step 7: Now plug your phone into your PC and start the Rufus tool.
We can make Android phones bootable without tool any tool, Diskpart makes these things possible which is built-in Windows 10 but will be quite lengthy and tough.
Step 8: Choose the USB device that corresponds to your phone. This is shown as NO_LABEL in Rufus.
Step 9: Now the main and important things to do, check ‘Create a bootable disk using:‘, choose ‘ISO Image‘ from the dropdown box, and click the CD Rom icon to choose the ISO you want to burn. Once the ISO is scanned by Rufus, it will fill in other options automatically.
Step 10: Finally, click ‘Start‘ to let Rufus burn the ISO for you into your phone and make it bootable.
Step 11: Now you have your bootable image in your phone, when you need to install Windows from your phone, connect your phone with the USB cable and go to BIOS setup by pressing F2 or F10 depending upon BIOS make to change the boot priority to boot from your USB Phone.
The third way: Download the iso image directly to your phone and convert it using isohybrid which is embedded in the DriveDroid application
1. Using your phone’s browser, download the desired ISO image from the Internet. If you want to install Windows 10, download the iso image from Microsoft’s download page
2. Move the downloaded file to the directory with images
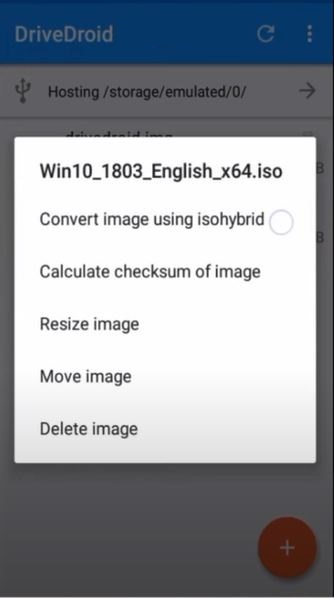
3. Then open the DriveDroid app, select the downloaded image, and press Convert image using isohybrid
4. After selecting an image a popup dialog asking how to host the image. Choose the first option to host the image as a writable USB drive.
5. Connect your phone with the USB cable and go to BIOS setup by pressing F2 or F10 depending upon BIOS make to change the boot priority to boot from your USB Phone.
Now, whenever you need to install Windows or Linux whichever iso you have with you in your phone, just change the BIOS settings to USB and connect your phone with the USB cable to boot from your device anytime anywhere.
One thought on “How To Make Android Phone as a Bootable USB To Install Windows”
Thank you very much. My computer was dead. But thank to this tool, I repair that.


Thank you very much. My computer was dead. But thank to this tool, I repair that.